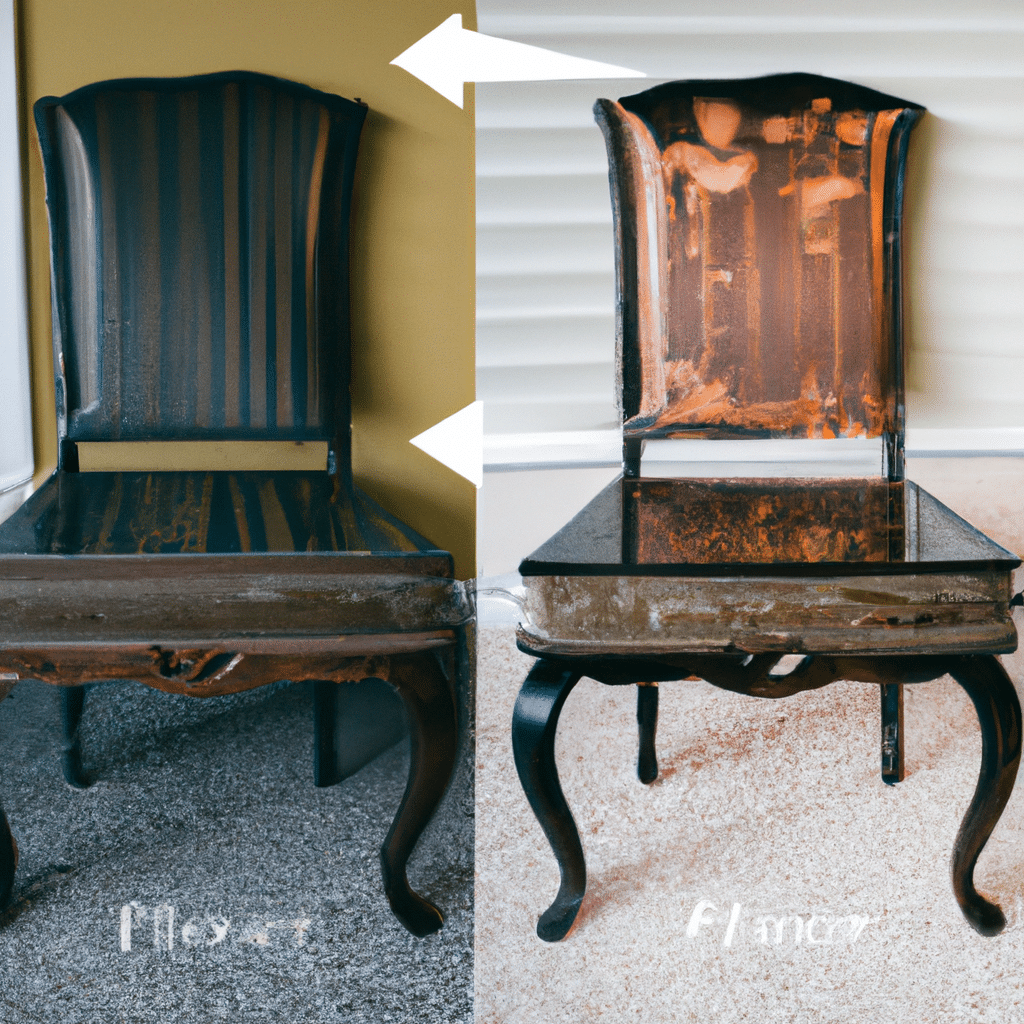
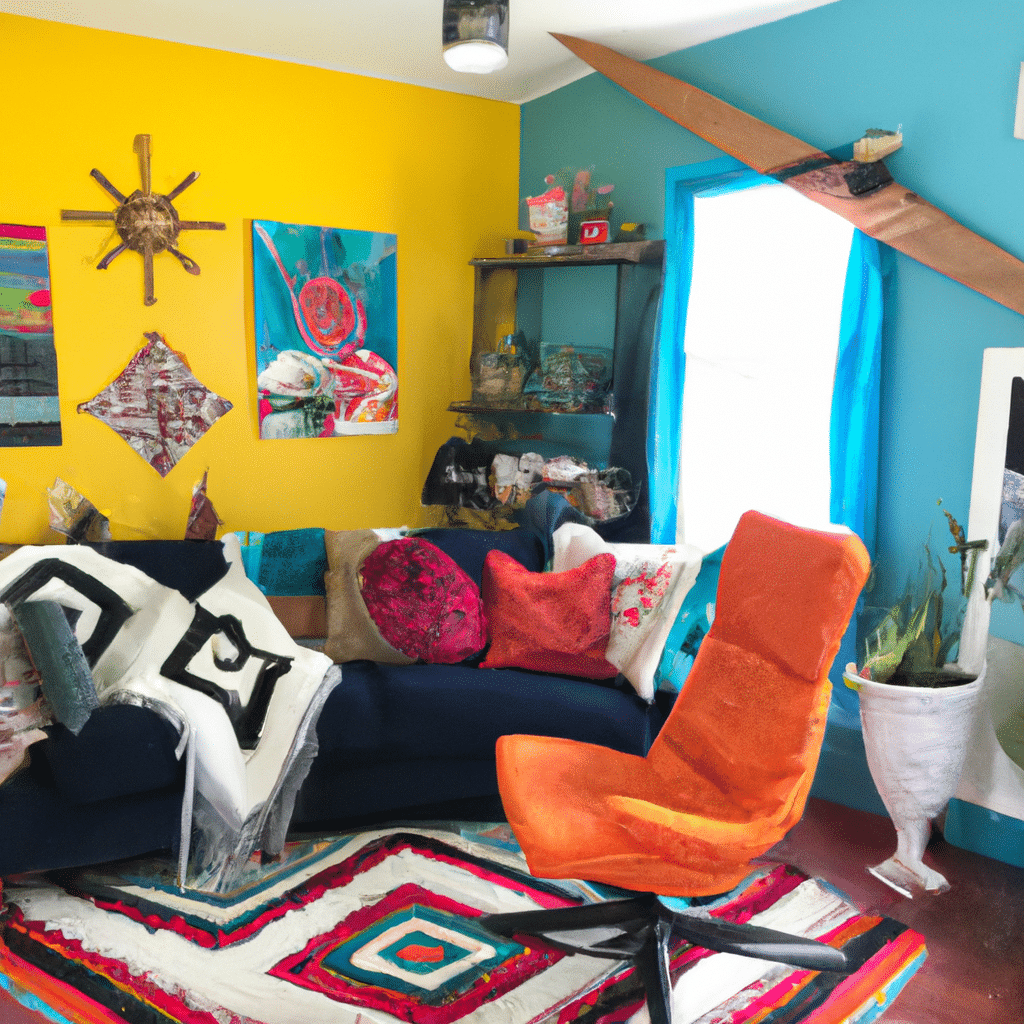
Welcome to our comprehensive guide on transforming your furniture from drab to fab without breaking the bank. If you’re looking to revamp your living space but are on a tight budget, you’ve come to the right place. In this article, we will provide you with practical tips, creative ideas, and cost-effective solutions to breathe new life into your furniture. Whether you’re a DIY enthusiast or a novice, we’ve got you covered. Let’s dive in!
Assessing Your Furniture
Before embarking on any furniture revamp project, it’s essential to assess the condition of your existing pieces. Take a close look at each item, noting any damages, scratches, or worn-out areas. This assessment will help you prioritize and determine the best approach for each piece.
Repairing Damages
If your furniture has any structural issues or damages, it’s crucial to address them before moving forward with the revamp. Loose joints, broken legs, or wobbly frames can be fixed with some basic woodworking skills. Invest in a good wood glue, clamps, and fillers to mend any cracks or chips. Remember to let the repaired areas dry and sand them down for a smooth finish.
Cleaning and Prepping
Once you’ve repaired any damages, it’s time to give your furniture a thorough cleaning. Use a gentle cleaner suitable for the material of your piece. Remove any dust, grime, or stains that may have accumulated over time. After cleaning, make sure to dry the furniture completely before proceeding to the next step.
Choosing the Right Paint
Painting your furniture is one of the most effective ways to transform its appearance. When selecting the right paint, consider the material of your furniture and the desired outcome. Here are some popular options:
Chalk Paint
Chalk paint has gained popularity for its versatile application and matte finish. It adheres well to various surfaces without the need for extensive sanding or priming. Chalk paint is available in a wide range of colors, allowing you to achieve different styles and effects. Consider using this paint if you want a shabby chic or vintage look.
Latex Paint
Latex paint is a durable and versatile option suitable for most furniture types. It comes in various finishes, including matte, satin, or gloss. Latex paint offers excellent coverage and is easy to clean up with soap and water. If you prefer a more modern or contemporary look, latex paint is a great choice.
Spray Paint
Spray paint is ideal for smaller furniture pieces or intricate details. It provides a smooth, even finish and requires less time and effort compared to traditional brush painting. Ensure proper ventilation and follow the instructions on the spray paint can for best results.
Preparing for Painting
Before applying any paint, it’s crucial to prepare your furniture properly. Follow these steps for a flawless finish:
Sanding
Lightly sand the surface of your furniture to create a smooth base for the paint. This step helps the paint adhere better and eliminates any imperfections or rough areas. Use a fine-grit sandpaper and be sure to sand in the direction of the wood grain.
Priming
Priming is essential, especially when painting over dark or stained furniture. A good primer ensures better adhesion and prevents stains from bleeding through the paint. Choose a primer suitable for your paint type and apply it evenly using a brush or roller. Allow the primer to dry completely before proceeding.
Painting Techniques
Now that you’ve prepped your furniture, it’s time to unleash your creativity. Here are a few painting techniques to consider:
Solid Color
The most straightforward technique is applying a solid color to your furniture. This classic approach can instantly freshen up any piece. Apply thin, even coats of paint, allowing each layer to dry before adding the next. Consider using a roller or brush depending on the size and intricacy of your furniture.
Distressing
To achieve a distressed look, apply a base color and let it dry completely. Then, lightly sand some areas, focusing on edges and corners, to reveal the underlying layer. This technique adds character and vintage charm to your furniture.
Ombre Effect
For a trendy ombre effect, choose two or more colors from the same color family. Start with the lightest shade at the top or bottom of your furniture, gradually transitioning to the darkest shade. Blend the colors together with a brush or sponge for a seamless gradient.
Stenciling
Add a touch of uniqueness to your furniture by incorporating stencils. Choose a stencil design that complements your overall aesthetic and secure it in place with masking tape. Apply the paint over the stencil using a brush or sponge, ensuring even coverage. Peel off the stencil carefully to reveal the intricate pattern.
Upholstery Makeover
If your furniture has upholstered elements, such as chairs or sofas, consider giving them a makeover too. Reupholstering can be a cost-effective way to breathe new life into worn-out fabric or outdated patterns. Follow these steps to revamp your upholstered furniture:
Choosing the Right Fabric
Select a fabric that suits your style and the overall theme of your room. Consider durability, color, and texture when making your choice. Opt for upholstery-grade fabric as it is specifically designed to withstand regular use and maintain its appearance over time.
Removing Old Upholstery
Carefully remove the existing upholstery, taking note of how it was attached. Use a staple remover or pliers to remove staples or tacks. Take pictures or make notes of the order in which the fabric pieces were attached, as this will help during the reupholstering process.
Reupholstering
Lay out your new fabric and place the original upholstery pieces on top as templates. Cut the fabric, leaving a few inches of excess on each side to ensure a snug fit. Begin attaching the fabric using a staple gun, starting with the center of each side and working your way outwards. Pull the fabric taut as you staple, ensuring a smooth and wrinkle-free finish. Trim any excess fabric once you’ve completed the attachment.
Adding Finishing Touches
To truly transform your furniture, don’t forget the finishing touches. These small details can make a significant impact on the overall look and feel of your pieces. Consider the following:
New Hardware
Swapping out old handles, knobs, or pulls can instantly update the appearance of your furniture. Choose hardware that complements your new design and ensures proper functionality.
Decorative Accents
Add decorative accents such as trim, mouldings, or appliques to enhance the aesthetics of your furniture. These embellishments can create a unique and personalized look.
Upholstery Details
Pay attention to the small details when reupholstering. Ensure seams are straight and neat, and consider adding decorative piping or tufting for an extra touch of elegance.
Conclusion
Congratulations! You now have all the tools and knowledge to revamp your furniture on a shoestring budget. Remember to assess, repair, clean, and prep your furniture before diving into the exciting world of painting and reupholstering. Choose the right paint and techniques to achieve your desired look, and don’t forget the finishing touches to add that extra wow factor. Get creative, have fun, and enjoy the process of transforming your drab furniture into fabulous statement pieces. Happy revamping!


